


How to Paint a Tile Backsplash - Your Questions Answered
HOW TO PAINT TILE | EASY KITCHEN PROJECT | HOW TO UPDATE TILE WITH PAINT | EASY WEEKEND PROJECT
A few days ago we posted a reel showing how we painted my tile backsplash, and we got TONS of questions!
So, we are answering them HERE!

Supply list:
- BB Frösch Paint Transformer
- Paint Color of Choice (I used BEHR Simply White)
- Foam Roller
- Paint Tray
- Painters Tape
- Mixing Jar
- Cleaning Supplies
- Zibra Brush (to apply sealant)
- Floor Sealant


My home was built in the 70's and then the kitchen was remodeled sometime in the early 2000's. Needless to say it's a little dated and not quite my style. I have big remodeling plans but those could be a while out...
*Queue PAINT*
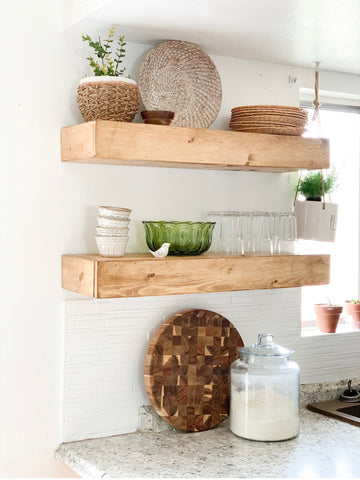
This backsplash just didn't go with my light and airy vision so I decided to paint it WHITE.

Step 1: CLEAN

I used a normal household natural cleaner. You REALLY want to make sure your tile is CLEAN. Kitchens can have a lot of unseen grease. If not cleaned properly or well enough, your paint will just bond to the grease instead of the tile.
Step 2: Prep Your Space

I used painters tape to tape off any areas that I did not want painted.

Step 3: Add BB Frösch Paint Transformer to Your Paint

For tile, I added a little more paint transformer than I usually would. This helps the paint stick to the slick tile. Adding extra powder won’t hurt your paint in any way—it can only help your paint bond. I mixed 3 Tablespoons of BB Frösch Paint Transformer with 2 Tablespoons of water. This is for a sample size (8 oz. or 1 Cup) of paint.
Adding this to your paint will help it bond to the tile surface without having to prime first. I'm all for skipping unnecessary steps like priming!
For this project I used Behr's Simply White. It it my most favorite bright white.

Step 4: PAINT

For this project I used a medium-nap 4 inch roller and paint tray. Your roller should have some nap to help get into the grooves of tile. A smooth roller won't get into the grooves as well.

Once you start painting make sure your first coat is THIN! It should look something like this. This is the bonding coat and will dry more quickly.
If you begin your second coat of paint and the first coat lifts, STOP, wait a little longer then try again.

This is only two coats of paint. The coverage is AMAZING!
*tip: If you need more coats or yours does not look like this after two coats that can be normal. Things like type of paint, color of paint and brand can all affect how many coats you will need. Not all paints are created equally. Rest assured that by adding BB Frösch to your paint you will get an amazing result!
Step 5: SEAL

Step 6: ENJOY!


Most asked questions:


